paint.net

documentation

Revision Date: 15 January 2023

Curves Adjustments Curves icon
Ctrl + Shift + M

The Curves adjustment is used to adjust the colors and/or luminosity of an image with a very high degree of control.  Curves allows fine control over the intensity of every shade contained in an image.  In particular, Curves can be used to enhance or dim specific ranges of intensity or a color channel in a way that Levels or Brightness / Contrast can not.

For our Curves examples, this image will be used:

Original Image
Original Image

Interface

Curves allows the remapping of colors or luminosity using control points on a graph.  When the Curves dialog first appears, it will have the luminosity graph shown below.  In this graph, the horizontal values are the intensity input, and the vertical values are the intensity output.

Curves
Curves

Reshaping the left half of the line/curve affects the darker half of an image. Altering the right half of the line/curve affects the brighter half of the image.

Moving a line/curve above its default position causes the affected areas to brighten, moving a curve below its default position causes affected areas to darken.

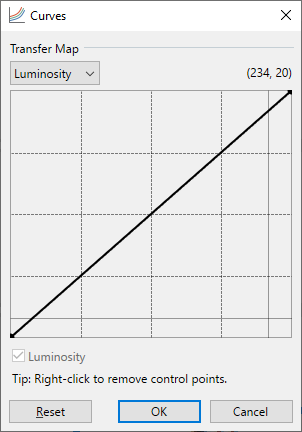
Example - Brightening with Curves

Lighter Curves

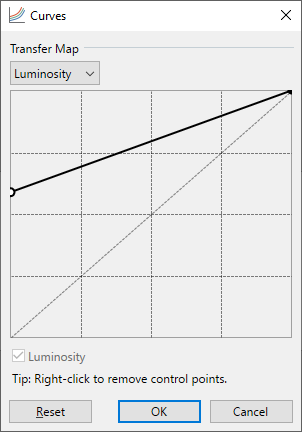
The left side of the curve (darker areas in the picture) has been dragged upwards. This has the effect of lightening the darker areas.


Lighter Apple

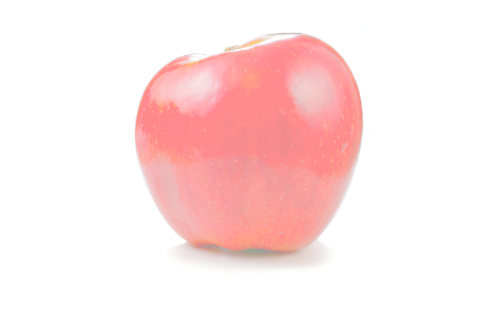
The resulting image is brighter

Example - Darkening with Curves

Darker Curves

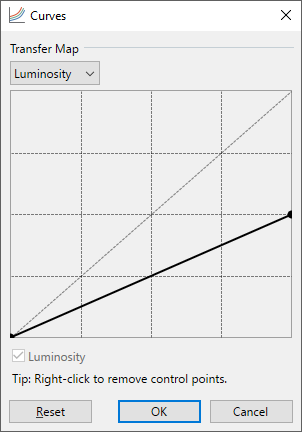
The right side of the curve (lighter areas in the picture) has been dragged downwards. The effect is to darken the lighter areas in the image.


Darker Apple

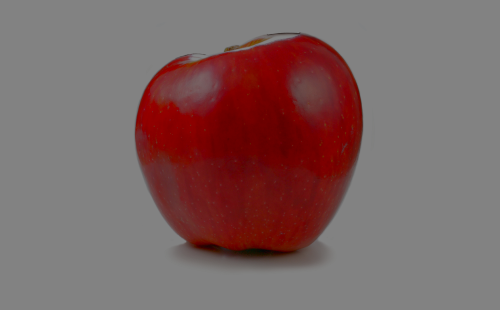
The resulting image is darker

Control points are used to affect the curve.  Control points are added by clicking anywhere on the curve where no Control point exists.  Control points are removed by right-clicking on the point.

To move a Control point, click and drag it to a new location.  The curve will bend so that it continues to run through all of the Control points in one continuous line from left to right.

Multichannel Adjustments

By default, Curves uses the luminosity of an image to adjust the image.  These actions can also be performed against the Red, Green and Blue color channels.  To activate the Color Channel mode, select "RGB" from the drop-down list at the top of the dialog.

With the RGB mode active, changes to the control curve are applied the color channels selected with the checkboxes near the bottom of the dialog.  It is possible to work on an individual channel or pair of channels simultaneously.

Example - RGB Adjustment

Curves + Color Channels

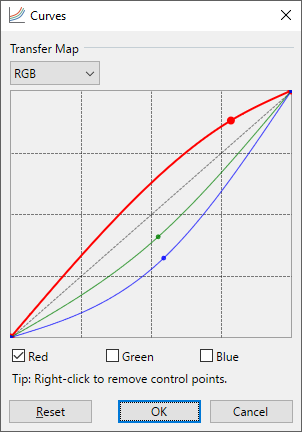
The image below has been adjusted using RGB Curves to increase the saturation.  The Blue and Green channels have been reduced while the Red channel has been increased. The result is a much more vibrant apple.


Vibrant Apple

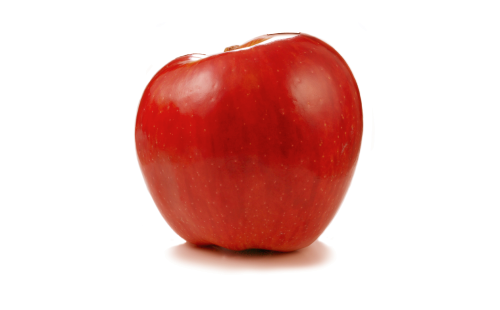
Using saturation to increase vibrancy.

Other Possibilities

Curves can be used to invert an image without reversing the colors.  In the next example, the apple was adjusted so that the dark areas are lightened and the light areas are darkened.  Despite these changes, the apple retains its red color.

Example - Negation

Negation Curves

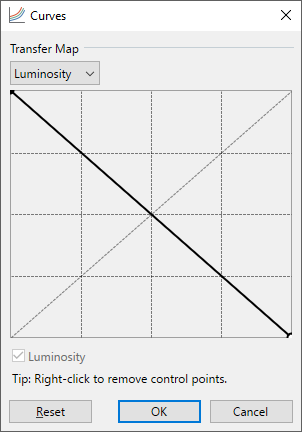
The control curve has been inverted, dark areas are lightened and light areas are darkened
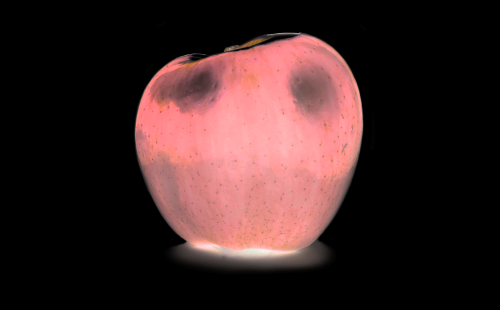

Negated Apple

The resulting image