Installing Paint.NET
Note
The installation of Paint.NET is automated when purchased from the Windows Store. The installation instructions below are pertinent only to Paint.NET Classic which has been manually downloaded from the Paint.NET website.
Tip
It is strongly recommended that all the latest system updates have been installed prior to installing Paint.NET. To verify and install system updates, use the Windows Update tool by typing "Windows Update" into the search box in the Start Menu.
Paint.NET is designed to be very easy to install.
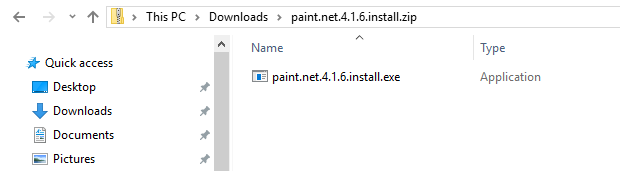
Once the installer package has been downloaded from the Paint.NET website https://getpaint.net/download.html, open the compressed folder by double-clicking the icon.

In the window that opens, double-click the file Paint.NET.<version>.install.exe to begin installation.
Note
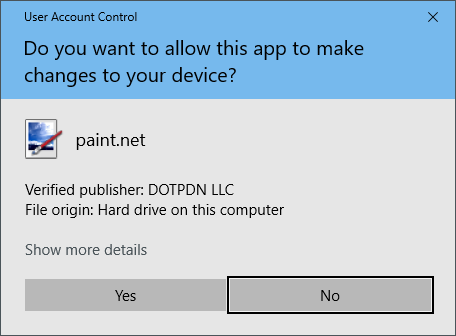
The Windows User Account Control dialog may open asking for permission to make changes to your system.
If the verified publisher is DOTPDN LLC as shown in this screenshot, click
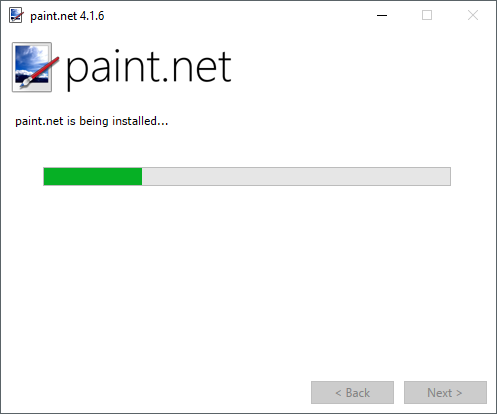
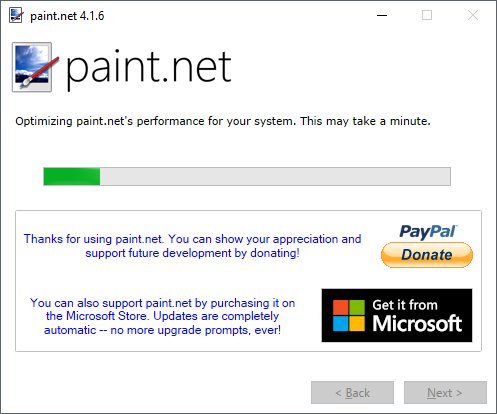
The Paint.NET installer will decompress the files necessary for installation.
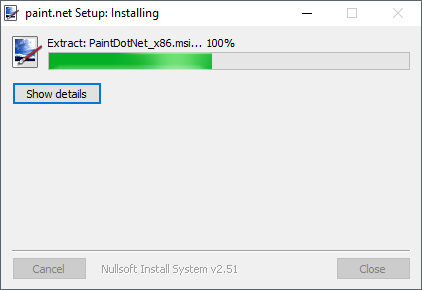
Once extraction is complete, the actual installation of the application will begin:
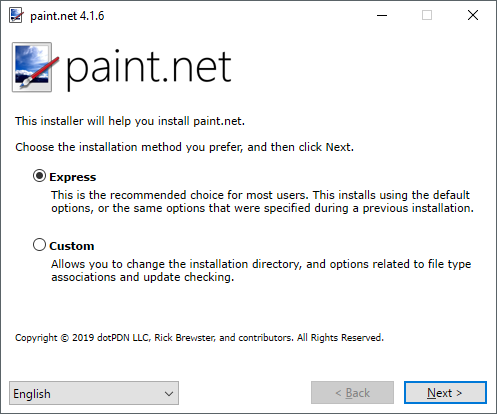
There are two installation options; Express and Custom.
For most users, the "Express" install with default options should suffice. If a customized installation is desired (perhaps changing the default installation directory), choose the "Custom" option.
Before leaving this dialog, choose the preferred language option from the drop-down list at the foot of the dialog. Click
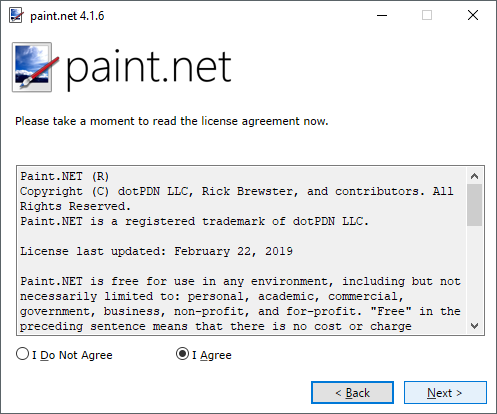
Read the license agreement. If you agree to abide by the terms stated, select the
If a Custom install was selected previously, the application will prompt you to choose some installation options and an installation directory:
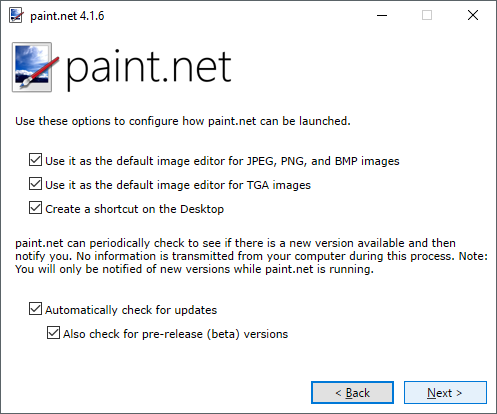
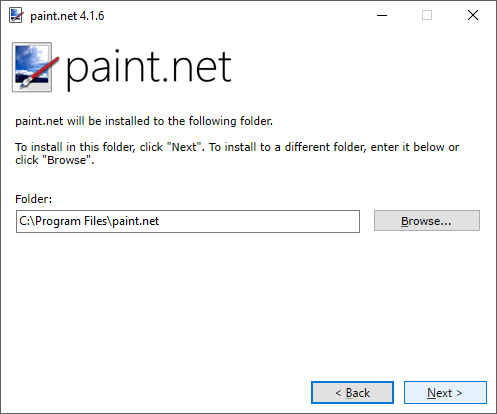
When these options have been set, clicking
Note
Paint.NET requires the .NET framework to function.
When installation is complete, click
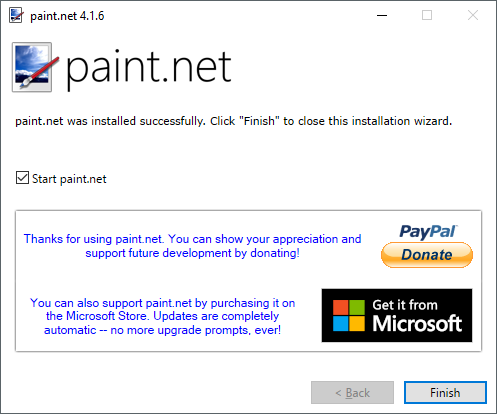
Note
While Paint.NET is provided free, please consider donating by clicking the
Donations fund future development, features and upgrades to the "best free image editor".
Donations can be made from the