Move Tools


There are two
Tip
It is important to understand the difference between the two Move Tools.
Move Selected Pixels
M once
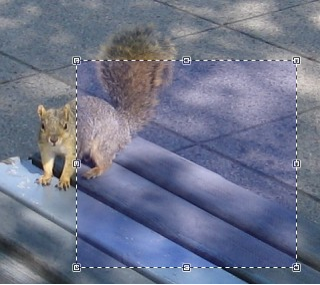
This tool allows the user to move, rotate and scale the actual pixels that are in the active layer or under selection. If no selection is active, the tool moves the entire active layer.
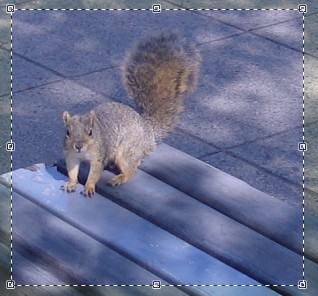
Click and drag to move the pixels to another location. As seen in the image below, once the pixels have been moved an area of transparency will be left in place of the moved pixels. This is denoted by the grey and white checkerboard pattern.
Note
When pixels are moved on a layer, the checkerboard pattern that remains is an indication that the region is transparent. The pattern is a visual cue and not part of the actual image.
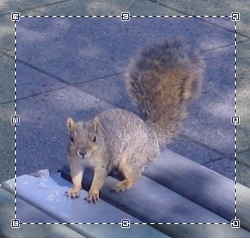
Move Selection
M twice, or Shift + M
This tool allows the user to move, rotate, and scale the selection outline. This does not change any pixels on the active layer. This is useful when refining the bounds of a selection.
Click and drag the selection outline to relocate it.
When this tool is active, a blue highlight will be added to the selection for greater clarity.
Control Nubs
When either
Dragging one nub over the one diametrically opposite has the effect of flipping the selection or layer.
Move Cursor 
Whenever the mouse pointer changes to a four-way arrow, the layer or active selection can be dragged. The cursor changes when it is placed inside or well outside the selection or layer.
Click and drag with the
Move Icon 
Whenever the four-way arrow icon is shown, the layer or active selection can be dragged to a new location.
Click and drag the icon with the
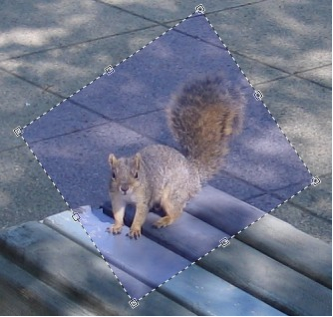
Rotation 
When the cursor is located in a corridor just outside the bounding rectangle, it changes to a double headed curved arrow.
The double headed arrow cursor is used to indicate a rotation is possible:
Tip
The Right Mouse button always accesses rotation - regardless of the location of the cursor.
The center of rotation of the selection or layer is shown when either
Click and drag the rotation point to relocate it. The center of rotation can be moved outside the selection or even moved off-canvas.
Tip
While rotating, the angle of rotation is displayed in the
Constrain the angle of rotation to multiples of 15 degrees by holding down the
Move or Rotate a copy of a selection
Move or rotate a copy of a selection by holding down the
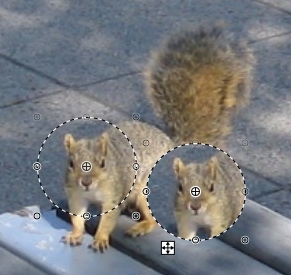
Here the selection circle on the left-hand side shows the original selection.
Holding down the
Resize
Move the mouse over one of the
Tip
When relocating a nub, hold down the
Holding down the
Holding down the both the
Resampling Modes
When rotating or resizing, there are five resampling modes available via the Tool Bar: Nearest Neighbor, Bilinear, Multisample Bilinear, Anisotropic & Bicubic.
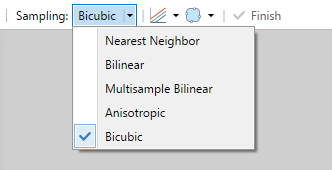
The default mode is Bicubic. This generally produces higher quality results. Anisotropic produces a smoother (less sharpened) look than Bicubic. Bilinear & Nearest Neighbor generally produce a more pixelated result. The Multisample Bilinear sampling mode has a sharper look than Anisotropic and avoids the "ringing" artifacts that can be apparent when using Bicubic with high-contrast images (like screenshots). However, it doesn't usually work as well when reducing a selected area to a much smaller size.
Gamma Correction
When using the
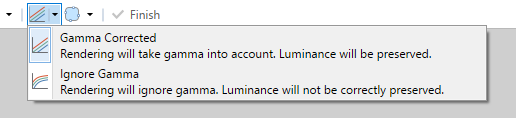
If
If the