Language Translations
Paint.net ships with 29 languages built in. These are:
- Belarusian
- Chinese (Simplified)
- Chinese (Traditional)
- Czech
- Danish
- Dutch
- English
- Finnish
- French
- German
- Greek
- Hebrew
- Hindi
- Hungarian
- Italian
- Japanese
- Korean
- Lithuanian
- Norwegian
- Persian
- Polish
- Portuguese (Brazilian)
- Portuguese (Portugal)
- Russian
- Slovak
- Spanish
- Swedish
- Turkish
- Ukrainian
Official translations which ship with paint.net are developed on CrowdIn (an account is required). The project can be found at https://crowdin.net/project/paintdotnet.
To join the project, post your CrowdIn username and the language you wish to contribute to on paint.net forum here https://forums.getpaint.net/topic/27847-official-translations-for-40-via-crowdinnet/
Updated translation files (RESX files) are picked up before each release of paint.net. Translations are used as-is provided they pass ResXCheck validation (see https://forums.getpaint.net/index.php?/topic/9497-resxcheck-tool-check-your-translations-before-publishing/ ).
New strings added to paint.net will default to machine translation. It is up to translators to provide better text than the default.
Many third-party language packs are available for free download via the paint.net forum. If a language is not presently supported, a new translation can be developed using the instructions below.
Creating a new language pack
These instructions have been developed for Visual Studio. If you do not have Visual Studio installed it is still possible to make a translation pack with a text editor and copy of resgen.exe (see https://msdn.microsoft.com/en-us/library/ccec7sz1(v=vs.110).aspx for more information). Resgen.exe is automatically installed with Visual Studio.
Step 1
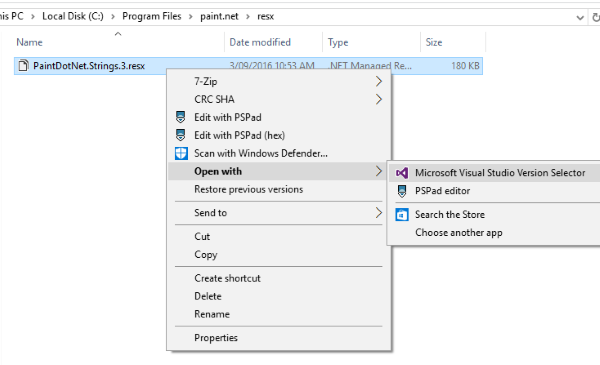
Open the paint.net installation folder (usually C:\Program Files\paint.net).
Open the
Open the file in Visual Studio by right clicking on it and selecting "Open with " > "Microsoft Visual Studio Version Selector"
Step 2
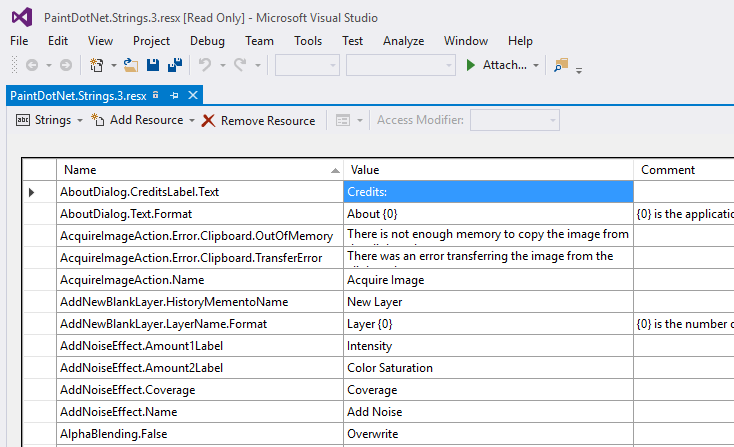
In Visual Studio, find the Value column. This column contains the default English text. It is this column which needs to have the entries replaced with the translated strings. Click in a cell and type to change the string.
There are over 1200 strings, however it is not necessary to translate them all.
Step 3
When the translation is finished, use File > Save As.... to save the file in a location you can find easily.
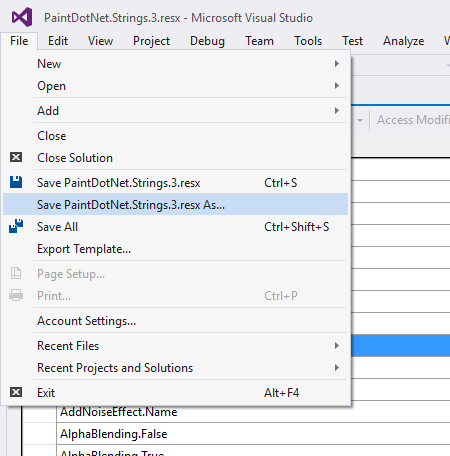
The format of the new file name is important!
The file must be saved with the appropriate main culture name in lowercase, like this: PaintDotNet.Strings.3.de.
An optional subculture name may be added in capitals after the main culture name provided two names are separated by a dash (-). Examples: ja-JP for Japanese as spoken in Japan, en-GB for English as spoken in the United Kingdom.
In the example above, PaintDotNet.Strings.3.de is the filename for a translation to a generic German language. A resource for German as spoken in Germany would be named "PaintDotNet.Strings.3.de-DE".
A list to culture-SUBCULTURE codes can be found here:
https://docs.microsoft.com/en-us/openspecs/windows_protocols/ms-lcid/a9eac961-e77d-41a6-90a5-ce1a8b0cdb9c.
A list to two character subculture codes (ISO 3166-1) can be found here: https://en.wikipedia.org/wiki/ISO_3166-1_alpha-2.
If you are translating to a language not covered by the listed language codes (Klingon, Valerian, Dothraki, Minionese or perhaps Elvish), choose any code you're unlikely to use.
Step 4
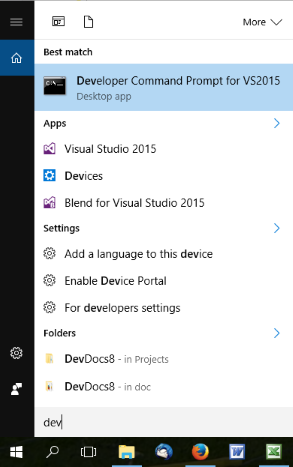
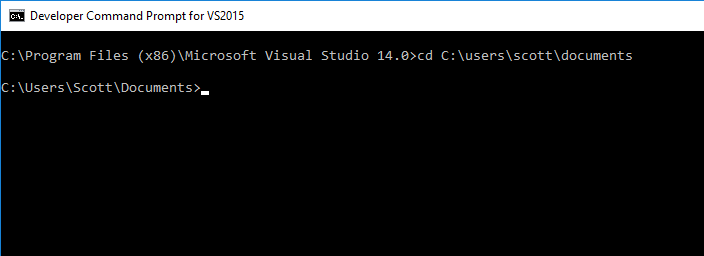
Exit Visual Studio. Open Windows Search and type dev.
Open a Developer Command Prompt for VS2015
Using the command prompt, navigate to the location of the saved resx file.
Step 5
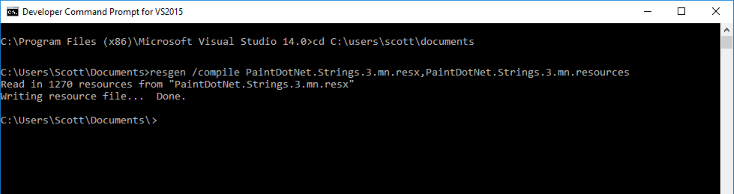
Using resgen, compile the *.resx file into a *.resources file by typing the following at the command prompt.
resgen /compile PaintDotNet.Strings.3.mn.resx,PaintDotNet.Strings.3.mn.resources
Note: both instances of mn in the example should be replaced with your chosen country code.
Close the command window.
Step 6
Open Windows Explorer and navigate to the location of the saved *.resx file. The directory should contain the newly created *.resources file as well.
Copy the *.resources file into the paint.net installation directory.
Close Windows Explorer.
Step 7
Start (restart) paint.net
Open the Settings dialog by clicking on the gear icon ![]() in the top right corner of the main window.
in the top right corner of the main window.
Under the Language drop-down, select the new language.
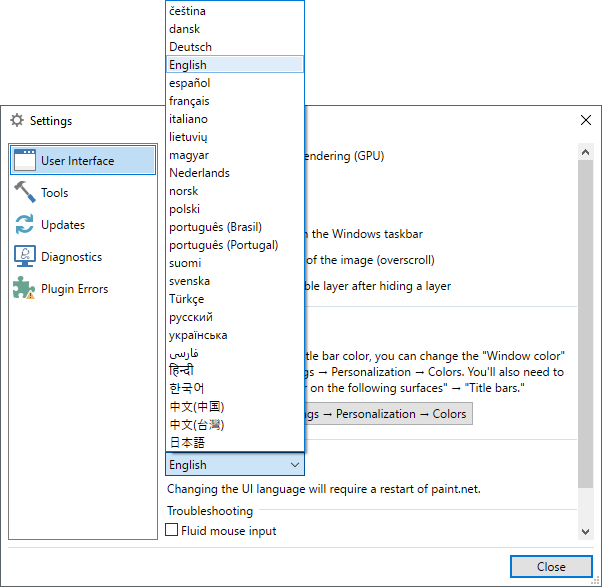
When prompted, restart paint.net to enjoy your new language.