paint.net

documentation

Revision Date: 15 January 2023

Photo Effects

This sub-menu contains five effects which enhance or modify photographs.

Photo Effects
Photo Effects

Note

The examples on this page show the effects being applied to an entire image - with the exception of Red Eye Removal. It is easy to restrict the adjustment to a sub-section of the image simply by making a selection.  If a selection is active when the effect is run, it will only be applied to the selected region. Areas outside of the active selection will remain unchanged. See the Red Eye Removal effect for an example.

Tip

The controls shown in the effect dialogs operate in much the same way; drag the indicator left, right or in a circular motion (for an angle control).  Typing in a numeric value in the text box or using the up/down arrows beside the text box also changes the current value.  The keyboard arrow keys can be used to alter the value of a control once it has the focus.
Multiple controls can be used in isolation or combination. If more than one is altered, the cumulative effect will be shown.
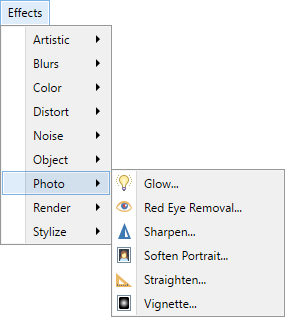
Effects Photo Glow icon Glow

This effect gives an image an inner "glow" by brightening the lighter tones and allowing these to encroach the darker tones. Color saturation is considerably muted by the effect. The overall result is similar to the photo being subjected to strong back-lighting.

Radius determines the strength of the effect.

Tip

When Glow is used on an object surrounded by transparent pixels, Radius defines the amount of shadowing or over-blur that occurs around the edges of the object.  When Glow is used with elements surrounded by opaque pixels the Radius defines the amount of beveling.

Brightness defines the intensity of the virtual illumination. At higher settings will brighten the original, lower values will darken it.

Contrast acts much like the Contrast adjustment in Adjustments > Brightness/Contrast.  Decreasing Contrast narrows the range of color tones so there is less variance between colors.  Increasing Contrast will enhance colors but may also wash out the range of colors, resulting in fewer but brighter colors.

Example - Effects > Photo > Glow
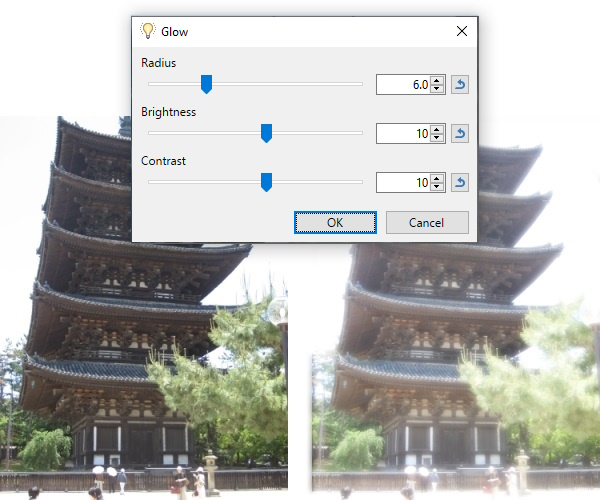
Glow Effect

Effects Photo Red Eye Removal icon Red Eye Removal

This effect recolors the "red eyes" caused by flash photography.

Strength determines the amount of color replaced. Low values will recolor more subtly, while higher values will recolor more strongly.

Tip

Use a Selection Tool to highlight the subject's eyes before running this effect. This confines the effect to just the eyes.

Example - Effects > Photo > Red Eye Removal
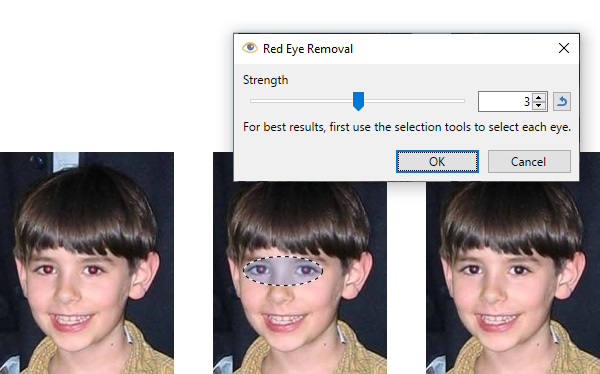
Red Eye Removal
Original image.    With active selection over the eyes.    Final result.

Effects Photo Sharpen icon Sharpen

Sharpen is used to reduce softness in an image. It does so by finding and enhancing edges in the image, increasing the contrast of the edges in the image as a result.

Amount which controls the strength of the effect.

Threshold determines which pixels will be changed by the effect. A low threshold will change more pixels than a high threshold.

Example - Effects > Photo > Sharpen
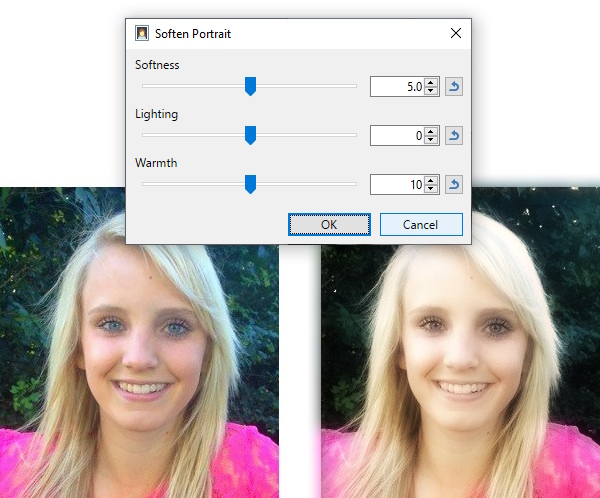
Sharpen

Effects Photo Soften Portrait icon Soften Portrait

This is used to soften images by adding a subtle glow type filter. The result can be likened to the diffusing filters used on leading actresses in early black and white films.

Softness is the strength of the effect. Higher settings increase the amount of softening, giving a slightly blurred appearance.

Lighting changes the intensity of the illumination. Higher values increase the strength of the lighting and result in a brighter image.

Warmth defines the coloring of the lighting. Higher values increase the warmth making skin tones more golden. Lower values make the image cooler with fewer warm color tones.

Example - Effects > Photo > Soften Portrait
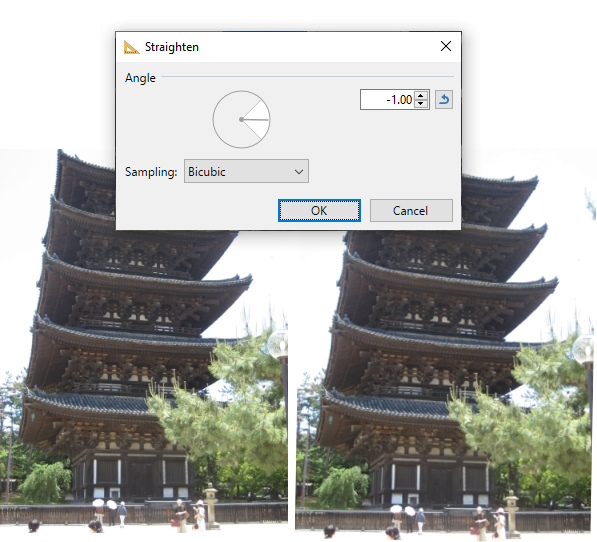
Soften Portrait

Effects Photo Straighten icon Straighten

Straighten is used to rotate an image, especially to straighten a horizon in a photo. The image is automatically scaled so it continues to fill the canvas.

Angle is the amount of rotation to two decimal places. Angle is constrained to ±45 degrees. Holding down the Shift further limits the angle to 15 degree increments (-45°, -30° -15°, 0°, 15°, 30° & 45°).

Sampling choose between Bicubic (default), Nearest Neighbor or Bilinear to alter how the image is sampled.

Example - Effects > Photo > Straighten
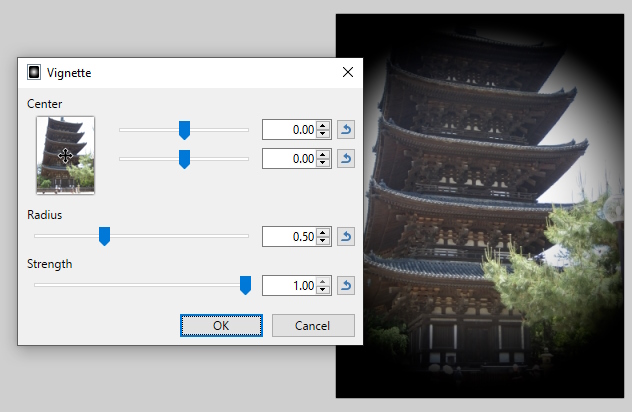
Straighten

Effects Photo Vignette icon Vignette

This effect is used to create a darkened elliptical halo around the edges of an image. This effect is commonly seen in aged portrait photography.

The Center shows the focal point of the effect. This point will be encircled by the darkening halo.  Center is relocatable: use the double slider control or drag the cross hair in the thumbnail preview.

Radius determines the strength of the effect by controlling the size of the darkening halo.

Strength determines how dark the vignette will be. Increase the Strength value to make the darkening stronger.  Lower values generate a lighter halo.

Note

The color of the vignette created by this effect is not configurable from within the effect dialog.  It will always be black (or a subtle grayscale if the Density is lowered).

Example - Effects > Photo > Vignette

Effects > Photo > Vignette

Tip

To create a colored vignette, use the Radial option of the Gradient Tool with the alpha value of the Secondary color reduced to zero.  Right click and drag to create a vignette colored in the Primary color.