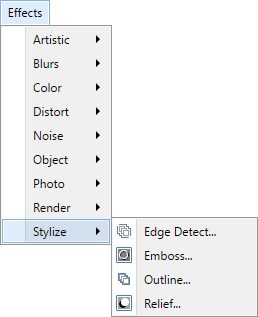
Stylize Effects
This sub-menu contains effects that produce stylized looks using edge detection algorithms. The effects can be useful in finding edges for tracing, or producing specialized textures for game development (e.g., bump maps).
Note
The examples on this page show the effects being applied to an entire image. It is easy to restrict the adjustment to a sub-section of the image simply by making a selection. If a selection is active when the effect is run, it will only be applied to the selected region. Areas outside of the active selection will remain unchanged.
Tip
The controls shown in the effect dialogs operate in much the same way; drag the indicator left, right or in a circular motion (for an angle control).
Typing in a numeric value in the text box or using the up/down arrows beside the text box also changes the current value.
The keyboard arrow keys can be used to alter the value of a control once it has the focus.
Multiple controls can be used in isolation or combination. If more than one is altered, the cumulative effect will be shown.
 Edge Detect
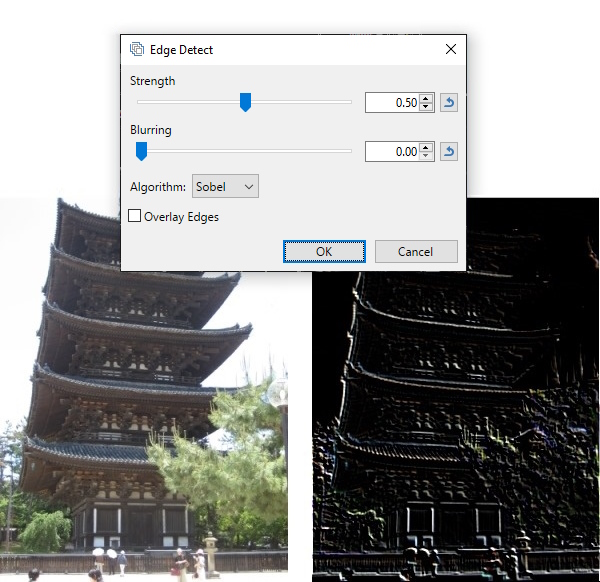
As the name suggests, this effect highlights edges in an image as if a strong light had been shone on it at an acute angle. The strong light highlights edges in color. Areas not identified as edges will not be highlighted and will be rendered black.
Example - Effects > Stylize > Edge Detect
 Emboss
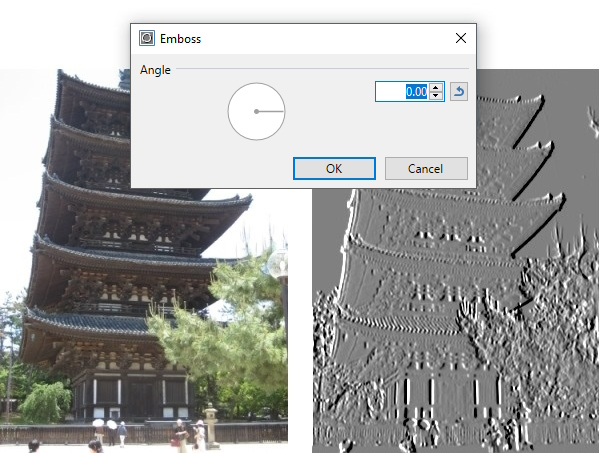
This effect will generate a black and white image where the edges (areas of high contrast) have been given a three-dimensional highlight similar to physical embossing. The highlighting uses a light and dark contrast to give the appearance of directional lighting and associated shadowing.
Note
Example - Effects > Stylize > Emboss
 Outline
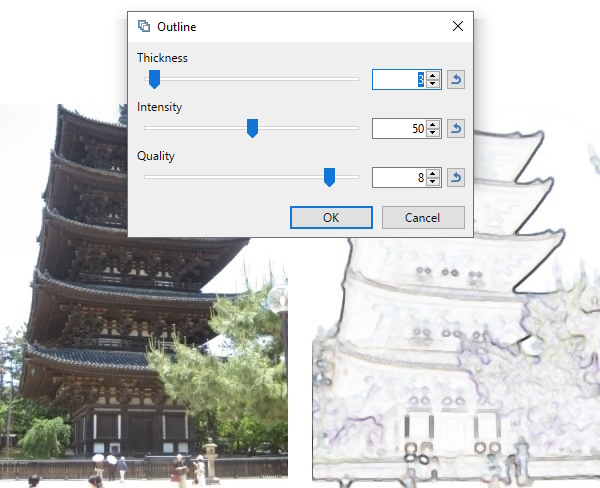
This effect enhances edges found in an image by tracing around them with an outline of requested radius. The effect changes areas of color to white leaving just the edges colored. The outline color is sampled from the edges found edges in the image.
Example - Effects > Stylize > Outline
 Relief
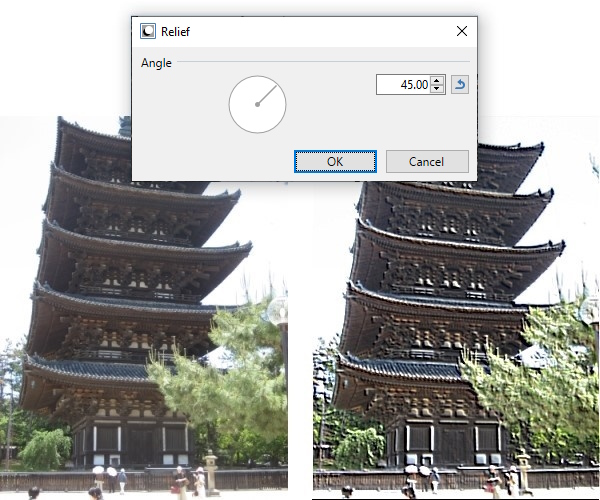
This effect is similar to
Like
Example - Effects > Stylize > Relief
Tip