This is one of the primary drawing tools. As the name suggests, the Paintbrush Tool mimics a hand held paint brush. It is used to create stripes of solid or patterned color.
To draw using this tool, click and drag the mouse.
If the Left Mouse button is used, the 'paint' will be colored the Primary color.
If the Right Mouse button is used, the Secondary color will be used.
Brush tool supports pressure sensitivity for pens and drawing tablets that are compatible with Windows Ink ("pointer" API)
Tool Options
Paint Brush Tool Options
The tool options can be configured from the Tool Bar once the Paintbrush is active.
Brush Size
Brush size measures the size of the tool tip.
The keyboard keys [ and ] increase and decrease the size of the brush tip by one.
If the Ctrl modifier key is added, the tip size will change by 5 per combination keypress.
Note
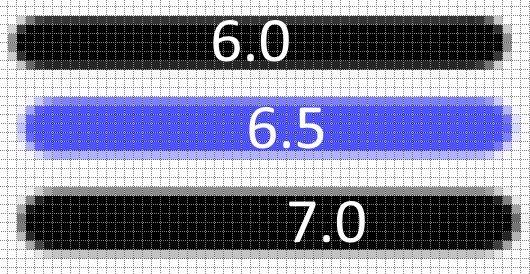
Brush size accepts decimals in the Tool Bar value box.
If you type in 6.5, this size will be respected in subsequent drawing operations (antialiasing is used to achieve sub-integer sizes).
Paintbrush Tool - showing sub-integer Brush size.
Pressure Sensitivity
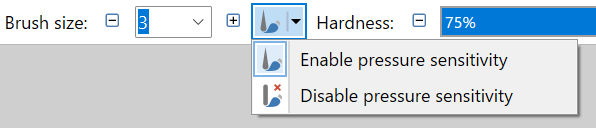
This split-button toggle is used to enable/disable pressure sensitivity. If Pressure Sensitivity is enabled, pressure on the hardware will be reflected in the thickness of the brush stroke.
The button appears between Brush size and Hardness only when a compatible pen or drawing tablet is detected, and Windows Ink has not been disabled in Settings.
Pressure Sensitivity toggle
Hardness
Hardness determines how hard or soft the edge of the painted stripe will be.
If the Hardness setting in the Tool Bar is given a low value, the brush will have a soft edge.
If the Hardness setting is given a high value, the brush edge will be much harder and more distinct.
Note
Hardness can be considered the strength of the antialiasing used to soften edges.
Because of this link, the Hardness setting is ignored if AntiAliasing is disabled.
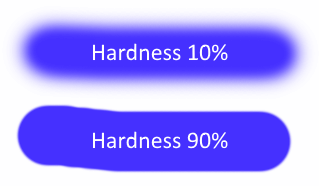
The following example, the upper brush stroke was made with a low Hardness setting (10%). Note the soft appearance.
In the lower brush stroke, a high Hardness setting (90%) gives a sharper edge.
Hardness Settings
Spacing
Spacing determines how far the pointer must be moved before another tip is stamped onto the path. The value is a percentage of the brush width.
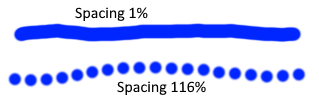
If the Spacing setting in the Tool Bar is given a low value, the path will appear continuous.
If the Spacing setting is given a high value, individual brush tips can be seen.
Spacing Settings
Smoothing
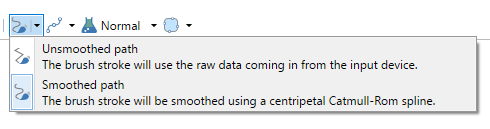
The input Smoothing toggle allows the user to specify whether the tool will follow the pointer exactly, or if the input will be artificially evened out.
By default, the input will be smoothed (Smoothed path).
Paint Brush smoothing options
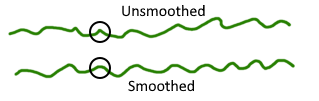
In the contrived example below, the top path is unsmoothed and the bottom path is smoothed. It will be harder to create unwanted peaks and flats when the input is smoothed.
Paint Brush path smoothing
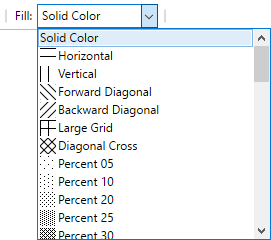
Fill Style
If a Fill Style is selected from the Tool Bar, both the Primary and Secondary colors will be used to create the pattern.
If the Right Mouse button is used (instead of the Left Mouse button), the roles of the Primary and Secondary colors is reversed.
Fill Styles
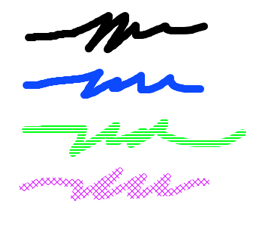
The following example shows the Paintbrush being used to draw several brush strokes. Two in solid color, and two showing patterned fills.
Example
Paintbrush Tool - Solid colors and patterned Fill Styles.